Applying Ladybug to make Radiation Analysis and Optimization based on Parametric Modeling
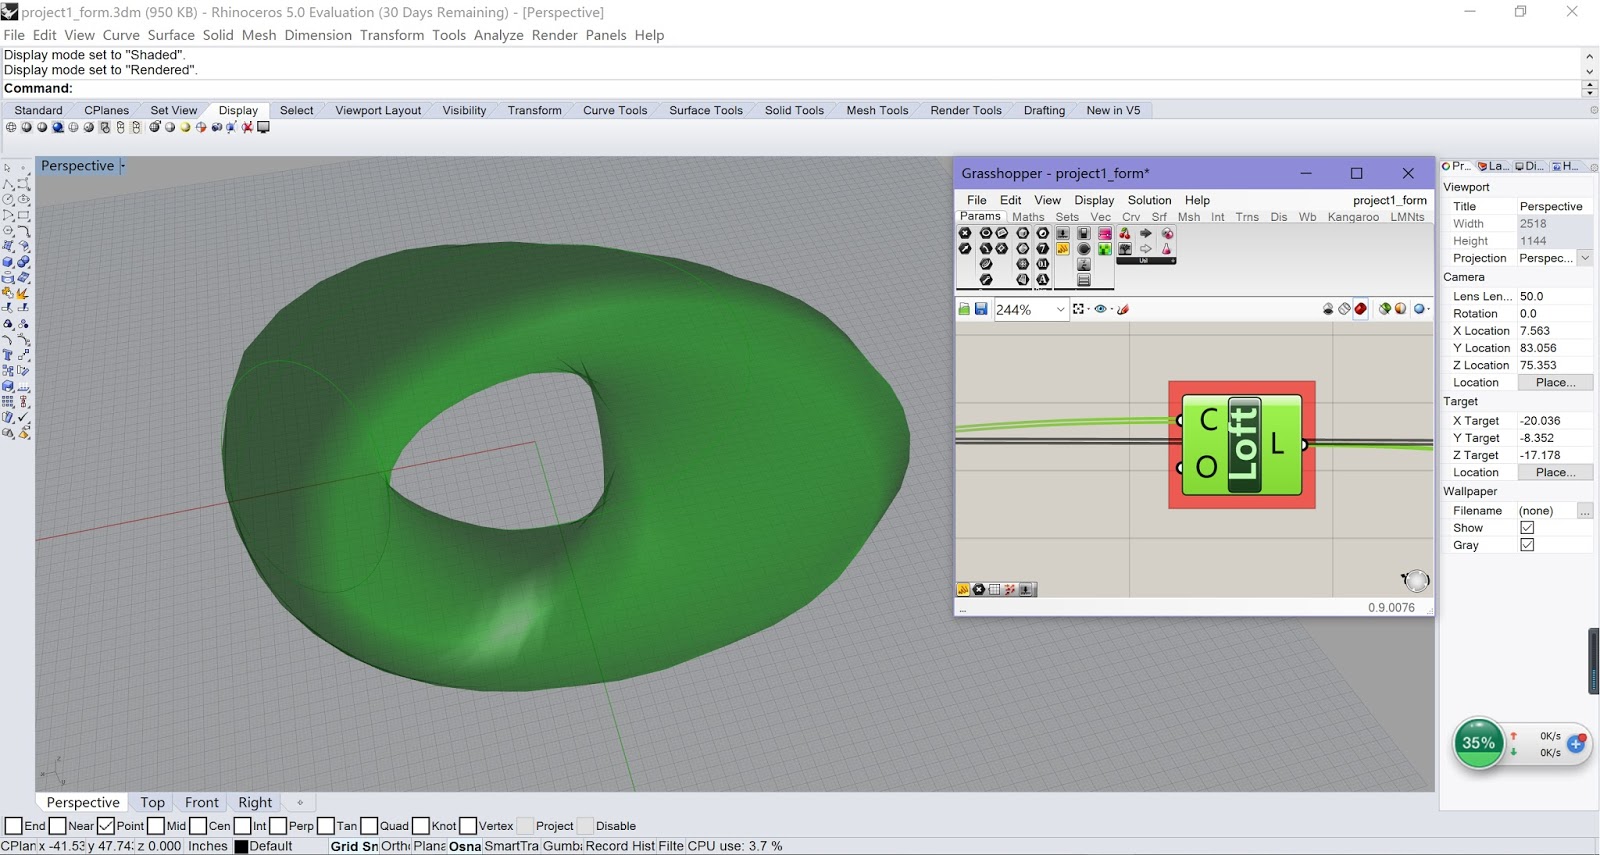
Part 1: Parametric Modeling
 |
| Step 1 |
•
Use Construct Point to
build two points which are the centers of the roof and the base;
•
Use Number Slider to
control the height of the building, the radius of the roof and base;
•
Use Divide Curve to
divide the circles into 20 equal segments.
 |
| Step 2 |
•
Use Explode Tree to
extract all the segment points;
•
Use Shift List and
Number Slider to offset all the points and control the offset distance;
•
Use Line to
generate all the lines we will use later for skin pipes.
 |
| Step 3 |
•
Use Divide Curve, Flip
Matrix, Interpolate Curve to generate the curve boundary of each floor;
•
Use Boundary Surfaces to
form each floor surface.
 |
| Step 4 |
•
Use Pipe to
generate the skin pipes;
•
Use Number Slider to
adjust the radius of the pipes.
 |
| Step 5 |
•
Use Brep Join to
join the model mass, pipe skin and the floor surfaces.
 |
| Final Model from Different Views |
 |
| Rendered Model |
Part II: Ladybug Radiation Analysis
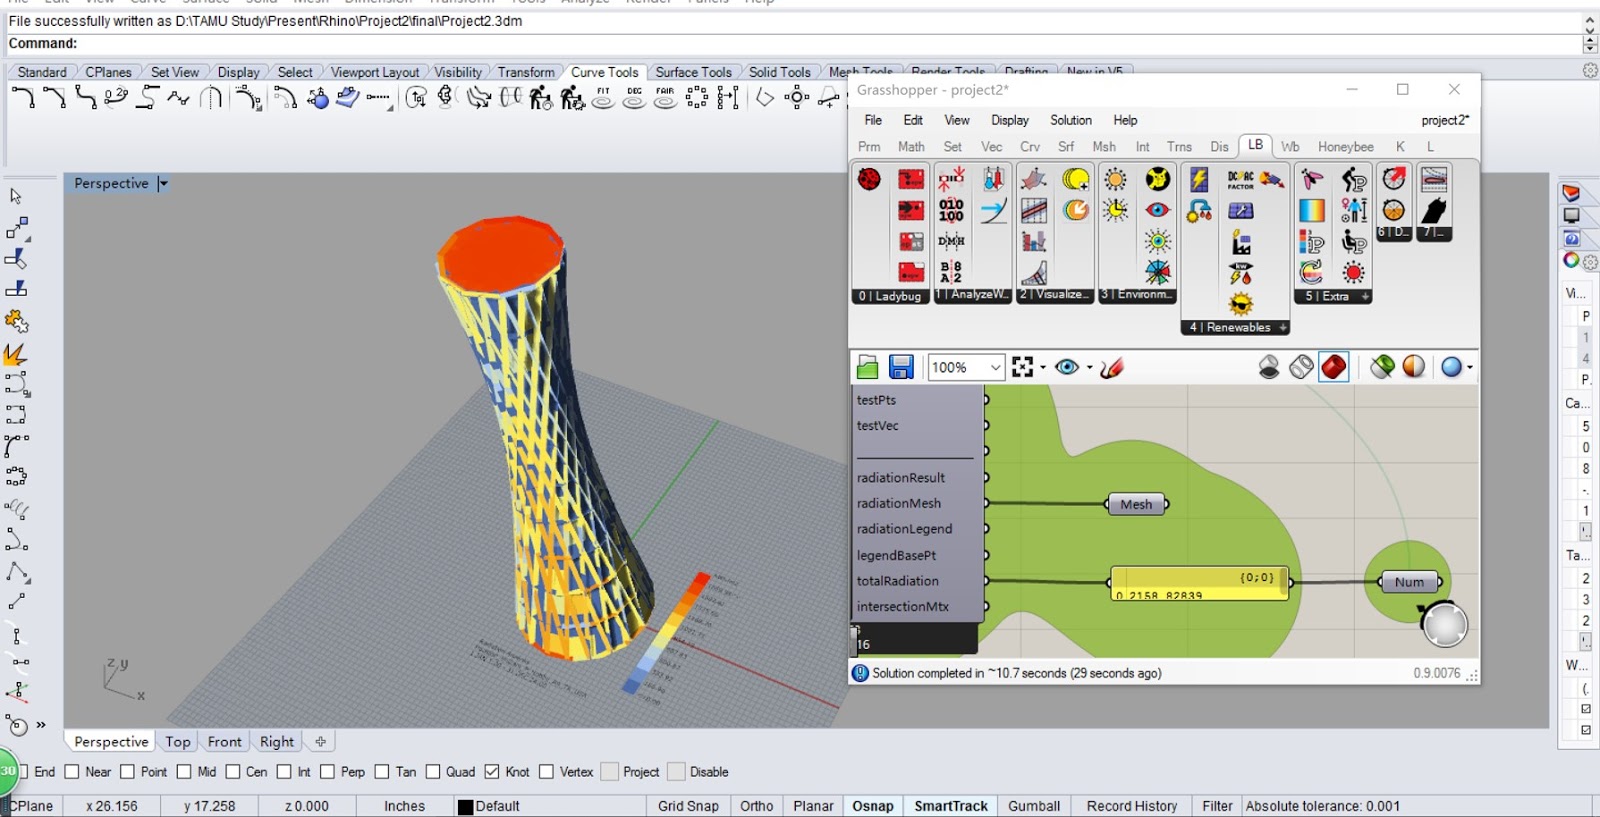 |
| Ladybug Radiation Analysis |
Next, we need to
download the EPW file. Drag the Download EPW Weather
File into
the canvas. Connect with a Boolean Toogle and set it true. This
will automatically take you to a site with almost every city’s weather data.
Find the location you want and double click, then you will be able to download
a zip file of the weather data.
After these preparation work, let’s put
an Open EPW Weather File component onto the canvas, connect with
a Boolean Toogle and set it true. Navigate to the file we downloaded just now. (in
the USA_TX_Houston-William.P.Hobby.AP.722435_TMY3 folder, the epw
file). Then we need to put the Import EPW component, connect it to
the EPW file. We can use the component GenCumulativeSkyMatrix
which will calculate sky radiation for every hour of the year.
Attach the CumulativeSkyMtx to the SelectSkyMtx component,
this will select the sky matrix you just created and allow you to add an analysis
period. This will add accuracy for your analysis, especially
if you are only looking for data from specific months.
we can now start to analyze the solar radiation on that given
location. To do this we need to drop the Ladybug_RadiationAnalysis component
onto the canvas, drag the SelectedSkyMtxOutput
and attach it to the Radiation Analysis component. We also need the geometry
from your model to be plugged in.
Set up the grid size and distance from base, connect with a Boolean
Toogle. Now we are ready to do the analysis, just set it as true.
Part III: Optimization
 |
| Result before Optimization |
 |
| Optimization Component |
We can use the result of analysis for optimization purpose.
Here I chose to maximize the radiation based on the total radiation of each
floor. As we can see here, this is the number of total radiation before
optimization. Use Galapagos Genetic Input, set Bottom Radius or
any factor you would like to change as the factor, set the number we get from
the radiation analysis as the fitness. Set up the Galapagos Editor.
Click Start.
 |
| Optimization Process |
 |
| Optimization Result |
 |
| Final Model After Optimization |